Wood Block Printed Fabric
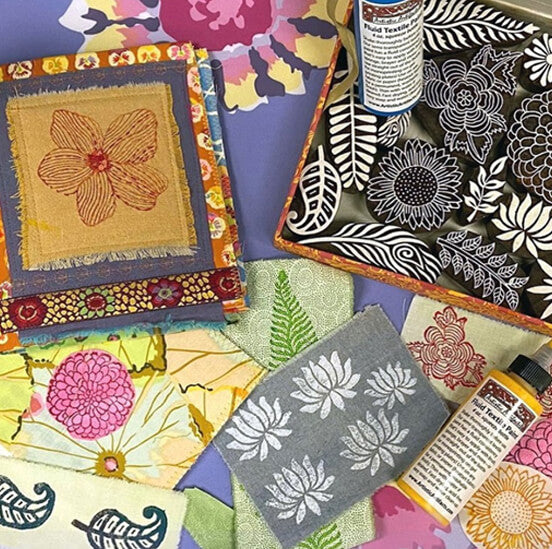
Wooden Printing Blocks are wonderful to create unique and personal fabrics and papers. We’ve included information about our newest designs as well as some basic information about block printing in the latest edition of the Artistic Artifacts e-newsletter — read it online.
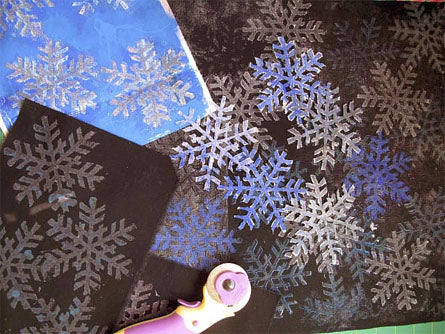
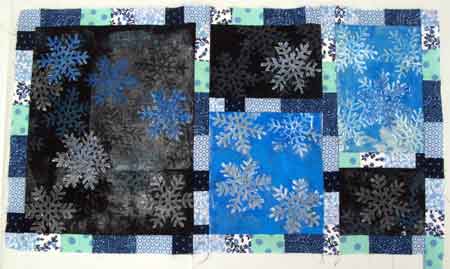
The above photograph shows how I have used a snowflake wooden printing block with textile paint, deColourant and deColourant Plus on both fabric and Lutradur.
I think of snowflakes as being light and translucent, so I thought Lutradur (I used the 70 lb. weight) would be the perfect material to use to create snow flakes to place on top of my printed fabrics.
I printed with blue paint and my snow flake wooden printing block on white Lutradur.
Here I have my heavy teflon craft sheet underneath and my Walnut Hollow woodburning/heat cutting tool ready to cut the snow flakes out.
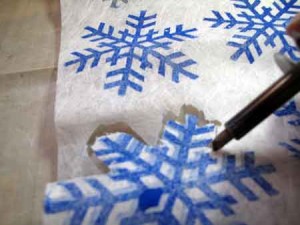 Lutradur is a synthetic material and will burn quickly. There is a bit of a smell, so working in a ventilated area is to your benefit. Move the tool, using a fine tip, along the line you want to cut rather quickly. If you turn the tip to the wide edge, it will burn a larger surface.
I expected the “cut” edges to separate on their own and have the excess fall away, but I had to pull it.
Still happy with the process and my snowflakes.
Next to figure out what how to bring the samples of printed fabric samples together. I thought I would keep the different size samples, border them with the same “pattern” then sew them together.
My go-to fabrics are Batik Tambal’s Combanasi batik and M&S Textiles Australian Aboriginal prints...so I tried this blue with black Australian fabric on the left. Thinking the strip should be 2" wide, I placed the printed fabric approximately 2" apart.
I decided to go with a totally scrappy look.
In my stash, I already had this piece of blue strips of fabrics already sewn together. Again I was thinking 2" strips between all the printed blocks. I cut one strip and sewed it to a block and the 2" was too big. I cut the future strips, so that after they were sewn they would finsh off to be 1" wide.
The pre-sewn strips were not long enough, so I just sewed them together again.
Here is where I am at the moment. I am not liking the results. I think the strips are still too big and am trying to figure out a way to cut them down with out the dreaded “unsewing.” This quilt is definitely NOT talking to me!
But it’s not a dog bed yet! There is still hope.
It is difficult to see, but I placed several Lutradur snow flakes on top of the quilt
So there you have it — a work in progress! Not sure I will how far I will get tonight. I am definitely cutting the strips to ½" and will update with a new photo.
My challenge to you is to grab some of your wood block printed fabric and using orphaned blocks and/or borders and create a collage. Send us a photo of your quilt and we will add it to the blog post. I know there are better examples of Block Printed Artwork than mine! Let’s see them!
Cyndi Souder cut her Stamped images differently. What if I tried that? What if you did?
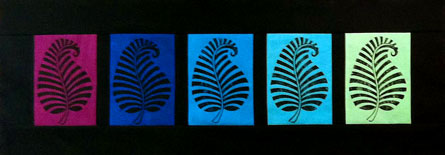
Above, another sample from Cyndi Souder.

Sarah Entsminger created a whole cloth quilt.
Below, in honor of the upcoming season, a fun little quilt I created using one of our Christmas Tree wooden printing blocks.









Leave a comment