Hand Made Cards
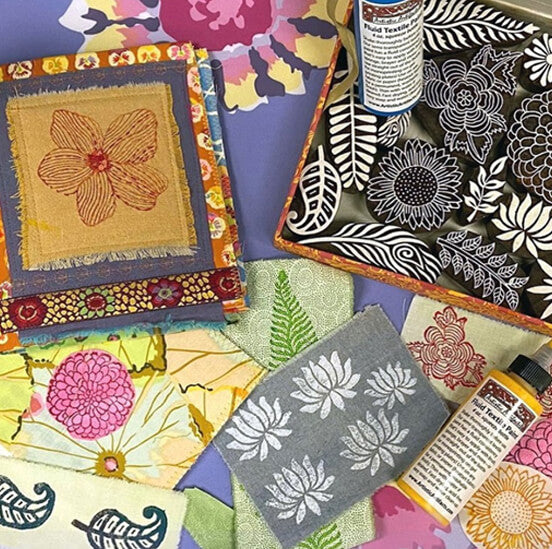
The cards in progress here were made with fabric printed with acrylic paint. I printed some using a gel printing plate; others were printed using a wooden printing block. Basically they are scraps with ripped edges, or cut with a rotary cutter. Note: when I cut strips I do so in a random manner; I don’t use a ruler.


Once I have collected my strips, I place a non-stick ironing and craft sheet down first, followed by a layer of Mistyfuse®. Then I arrange my strips of fabric atop the fusible.
Once I have the strips in place, I top the two with another non-stick ironing and craft sheet over the sandwich and press quickly. At this point I have created a new sheet of “fabric.”

The next step is cutting the fabric to fit whatever size blank cards that I’ll be using. Place the cut fabric on the front of the card, cover with the craft sheet and iron the fabric to the card. The lightweight Mistyfuse adheres to paper and cardstock as well as it does on fabric.
I always create multiple cards at a time. As you see in these photos, I’ll end up with four cards from this arrangement of strips.


At this stage you can go with what you have and consider it done! Or, we can add another layer of interest. In this case, I stamped atop the fused strips with a wooden print block. When block printing, you’ll get the best results by using a dense foam mat — place the card on the mat, dab paint (consider our Artistic Artifact brand textile paint) on the wooden printing block with a sponge and press the block down.


Leave a comment