Block Printing Holiday Cards
 Above, holiday-themed wooden printing blocks available at Artistic Artifacts.

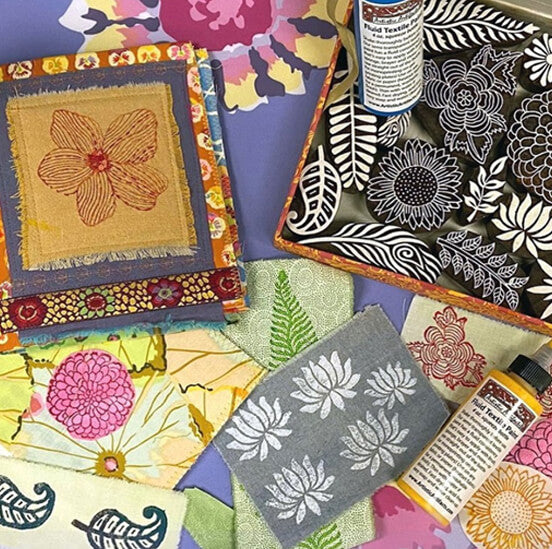
It’s no surprise to write that one of our favorite techniques is block printing using our wooden printing blocks, which are hand carved by artisans in India, ethically sourced using sustainable wood.
We planned a “make and take” for our shop as part of our celebration of Small Business Saturday. Then, we were delighted to be asked to participate in the District Rebel Market, which was as Shop Small event supported by Amex & Etsy at Union Market in Washington, DC by hosting a make and take demonstration. (District Rebel “seeks to curate a collection of artists and makers that put a unique, modern spin on traditional art + craft.”) Since this event also took place on Small Business Saturday, we once again recruited Christine Vinh of StitchesnQuilts (pictured here at left in photo) to represent us. We set up a wide variety of wooden printing blocks, our Artistic Artifacts line of textile paints and blank notecards and envelopes at both locations for holiday card making.

Above, at Union Market, both children and adults enjoyed learning to block print. It’s fun to introduce a new generation to art techniques, and simple block printing is quick and easy!

Above, use a sponge to apply paint to the wooden printing block — pictured here is WB163 Reindeer. Pounce the paint on lightly but evenly.

Working on a foam printing mat is essential, as it allows the necessary amount of give to ensure a crisp and complete impressions of your block. Place the fabric or paper you are printing on top of the mat (here we are printing on tissue paper) and apply strong, even pressure with the heel of your hand. Remove the block for your print, which will dry very quickly. Since our tissue paper was thin, and fabrics have a weave, you can see that your foam mat will not stay clean (pictured above, right). The layers that will build up have their own kind of beauty!

Above, the finished print using the Copper color of Metallic Artistic Artifacts Fluid Textile Paint. Clean your wooden printing blocks with soap and water when you are finished printing.

Finish your card as desired. Here the tissue was torn for an organic edge and adhered to the card with GOLDEN Matte Medium. Adding additional paper scraps, fabrics, ephemera, glitter and more are fun ways to embellish and complete your cards.

Below, watch as Artistic Artifacts owner Judy Gula gives a brief tutorial on using wooden printing blocks and Artistic Artifacts Fluid Textile Paint on fabric.


Leave a comment