Piecing and Piping… Unblocking a Creative Slump

If your creativity is hiding, they tell you to just do anything creative, paint a page, sort buttons, sew scrap blocks, peruse art books, etc. Normally my go-to project is to create fabric postcards, but this time I tried something new.
I pieced many scrappy log cabin blocks — very much outside of my comfort zone, and the way I do it would probably make many a veteran quilter faint!
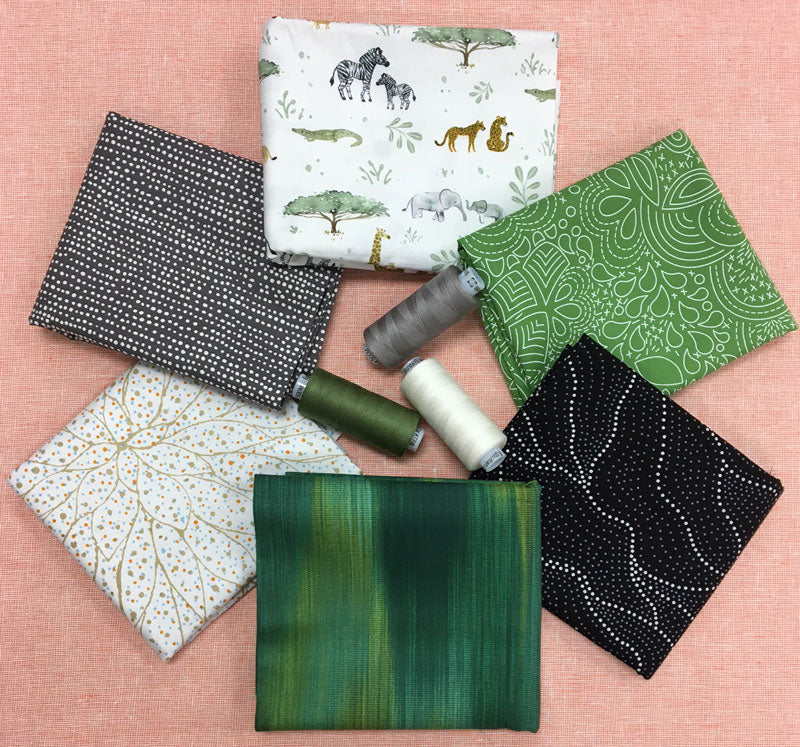
As you can see, I used a wide variety of Aborigine designed fabrics for this project. I just love the colors and patterns and enjoy the eclectic mix your obtain when combining them. My scraps come from the last 4-6 inches of the bolt of fabric, naturally lending itself to the construction of this block. Sewing these blocks got me back in front of my sewing machine with low stress. My only pattern was dividing into light and dark fabrics, otherwise the width of the strip was whatever I picked up.

Now, what to do with all those cool looking scrappy blocks.
I think I will make a pillow or two!
I began with an 18”x18” pillow form. A little investigation on YouTube and I was set to make my pillow with an envelope opening in the back, and because I think that a piped edge on pillows is nice, I added that to the mix.

My log cabin block was enlarged to 18" x 18". During my research I learned that the pillow cover should be smaller than the pillow form, and to cut the fabric the exact size. But now that my pillow has been completed, I think that I could have trimmed off another 1/2" around for a better fit. Instead I will buy a 20" x 20" pillow form and see how that works; the pillow will look look more plump and full.
For the piping I used the Groovin’ Piping Trimming Tool by Susan K. Cleveland and my sewing machine’s cording foot, with includes a large groove under the foot.
Boy did that tool make my life easy! Cut a strip of fabric 1-1/4" wide x the circumference of the pillow plus couple of inches to spare. Same for the cording: size 5/32" cable cord. I knotted the one end of cording, folding the fabric over the cord stitched a seam on the right side of the cord with my piping foot.


The Piping tool is made with a grove that the cording/piping slides through. And you can cut with your rotary cutter to a 1/4" or a 1/2" seam allowance.
Piping done. I sat there trying to figure out how I was going to miter the corners with piping... did not look fun… so back to the instructions with the piping tool. The instructions say to sew each side of the pillow separately with a little piping off the edge.

I did not trust myself to sew the piping and the back on at the same time, so I did them as two separate steps.
The backing is Kona Black Cotton. There are two pieces of fabric two-thirds the length of the front. So for me, the front is 18" long, thus my back was 18" wide by 12" long. I turned under one side 1/2" and then 1/2" again to hide the raw edge.

With the above photo I am trying to show you that my edge is 1/2"

I have pinned both backs onto the front, I pinned away from the edge so to not sew over any pins. I also left my cording foot on to guide my 1/4" seam allowance. I sewed each side separately.
Creativity unblocked...and a cool new pillow to show for it!
In addition to the tool, we sell a Piping Hot Binding Kit that, with the tool and 5 yards of 1 mm cording includes a 16-page booklet by the tool inventor Susan K. Cleveland that explains how to add beautiful binding with crisp corners and an invisible tail joining seam.


Leave a comment