Revisited: Dye. Layer. Collage. Art.
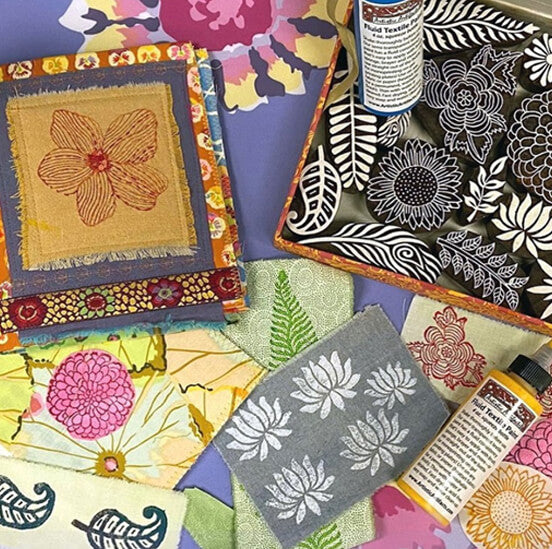
I’m doing some springtime travel: presenting my Batik Adventure lecture and trunk show to the Colorado Quilting Council on Saturday, April 28, and also teaching my Woodblock Printed Collage Art Quilt for the group on Sunday, April 29. (FYI, this class will also take place May 19 at Artistic Artifacts.) 
The workshop will take place at the Cottonwood Center for the Arts, in Colorado Springs, also home to Textiles West and my oft-mentioned friends Liz Kettle of Textile Evolution and Ruth Chandler, who are both are on the Textiles West board. I’m reminded of a Colorado visit nearly eight years ago, teaching a class titled Dye. Layer. Collage. Art. at a Textile Evolution Retreat. The quilt I made there is pictured above, my “Lady with Brooch.”
Art and inspiration are timeless, so while my original blog post about this 2010 event is no longer available, I wanted to share again, this time including additional photos taken by Liz.
 The first day of class we were immersed in making what I called “bits,” the base materials for our creations. We began with dyeing fabrics, vintage linens, trims and more. In the high-altitude Colorado climate, we could dye in jars, set out in the sun for three hours, rinse and line dry, and use in our quilts — all in the same day! (While the process is not that speedy on the East Coast, I have several Dye Days on the schedule now that the weather is warming.)
 Day one also found us using fabric, tissue paper and paints to create fabric paper. You can download Making Fabric from Paper by Beryl Taylor, a PDF tutorial from the Cloth Paper Scissors blog to learn how yourself. During the retreat we would finish out each day with show and tell, and in this photo (right) you can see finished sheets of fabric paper and piles of hand-dyed fabric being passed around. It was fun to see what students in the other classes were up to each day!

In addition to the daytime classes, each evening the instructors would take turns doing another fiber arts related demonstration and hands-on activity. Pictured above, I demonstrated making silk paper using silk fibers, Angelina, Jo Sonja Textile Medium and more, adding to our stash of bits to use.

 The above detail photo of my Lady with Brooch quilt shows some of the fabric paper and dyed trims, as well as the vintage brooch referenced in my title.
The second day of class, my students had a choice of continuing to make bits (a glimpse of which are pictured right; including some of the student work begun), or to immediately start in on designing their quilts. They had to do so without pencil, paper, or preplanning — just letting the materials speak to them.
This was scary for all, but thanks to Cass Mullane and Laura Cater-Woods, every retreat attendee was issued a ‘permission slip’ to try something scary!

By beginning with an inspiration item such as a pin, photo or found object, they all were able to create a small art quilt that could be easily finished (if necessary) after the retreat concluded. Above you can see students beginning to experiment with layering fabrics and textiles to find the design they wanted to complete.

I was very proud of my students — they all stepped into the scary land of intuitive designing! Unfortunately I didn’t capture all of the work, but they all did a fabulous job. Above and below, student work experimenting with possible layouts.

Below, Cathleen “Cat” Mikkelson’s collage composition.

Cat’s inspiration was a “Famous Woman Card” that was included in the retreat Goodie Bag and her newly dyed fabrics.

Above, Ruth Chandler at work composing two different pieces.

 Ruth’s inspiration was the beautiful dyed and surface designed fabric she created combined with the photo, one of many I brought with me for student use.
Here you see more of Ruth’s fabric, but for this piece, the inspiration was a 12 in. × 12 in. piece of scrapbooking paper! Other Artists who taught at Textile Evolution Retreat 2010 were Laura Cater-Woods, a wonderful art coach, artist and friend and Carol Sloan.
This was the first time I had met Carol and I wrote then that she was “a new friend who draws wonderful designs, creates very cool rusted fabrics and loves found objects… wonder why we get along!”
My mother Pat Vincentz accompanied me on the trip to the retreat. While I was busy teaching, she took Carol’s two-day mixed media class Scraps, Fragments and Artifacts. She enjoyed herself, met new friends and then surprised me with the most wonderful quilt ever!
There was a photo of me and my mom holding it, me sweaty and sobbing. With my first blog post, I wrote that my readers were to “Keep in mind this quilt was a surprise and I was crying like a baby! I also had been working outside in 90 degree sunshine...you are supposed to be looking at the quilt!” This time around, I’m going to spare myself that embarrassment and just post the beautiful keepsake.
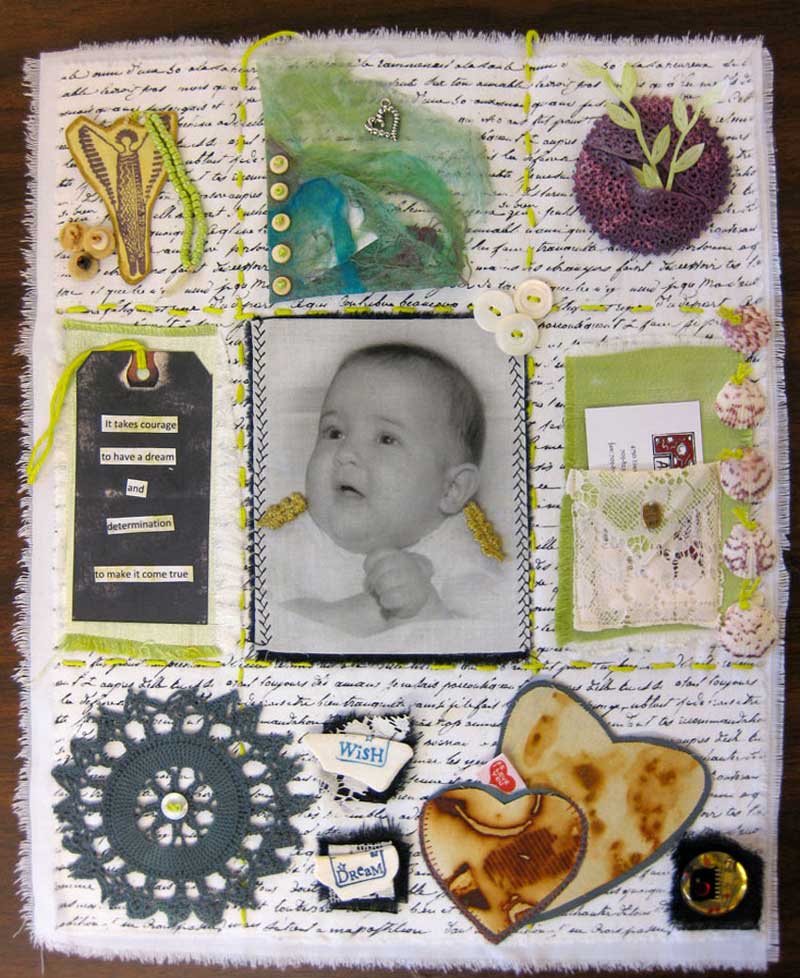
You can see my mom used some of Carol’s rust dyed fabric in her quilt. I used a wonderful piece too in my quilt; the detail photo below shows it as well as the free motion thread painting/quilting I used. I now sell my own Rusted Fabric Collage Pack — it adds such a great touch to fiber projects!

I hope you’ve enjoyed this walk down memory lane and are inspired to create your own art quilt!




Leave a comment