String Pieced Aussie Quilt

Click photo for a larger view of Judy Gula’s completed quilt above »
I wanted to revisit this blog post, originally published in 2015. The above quilt is one of the most-asked about samples we have hanging in the shop and never fails to garner compliments.
Bonnie K. Hunter spoke at my local quilt guild, the Burke chapter of Quilter’s Unlimited of Northern Virginia years ago, and I loved her quilt samples, patterns and fabric choices. As you all know by now, I have a very eclectic task in fabrics, from vintage to contemporary to ethnic... and I have always done a lot of repurposing of items at Artistic Artifacts. Bonnie hit the upcycle/repurpose interest that I have by using fabric salvaged from old clothing in her quilts. After hearing Bonnie talk, the very next day I ordered her book: Scraps & Shirttails: Reuse, Re-purpose, Recycle! The Art of “Quilting Green. Bonnie’s book was so popular that she wrote a long-awaited sequel, Scraps & Shirttails II, which continues the art of quilting green with projects that help you reuse, re-purpose and recycle your scraps into beautiful quilts.
Fast forward several years after hearing her speak, and I had finally acquired enough scraps of Australian Aborigine designed fabric to try my hand at string/paper piecing. One of my aims for this project was to illustrate that many traditional quilt patterns are perfect for our ethnic fabrics, including batiks (like our own Batik Tambal Exclusive Batik) and Australian.
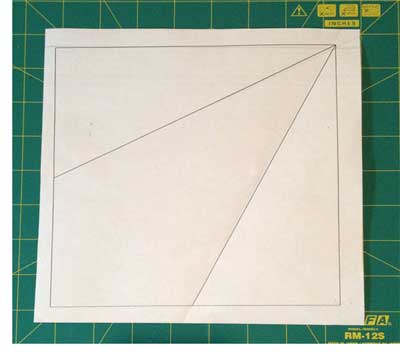
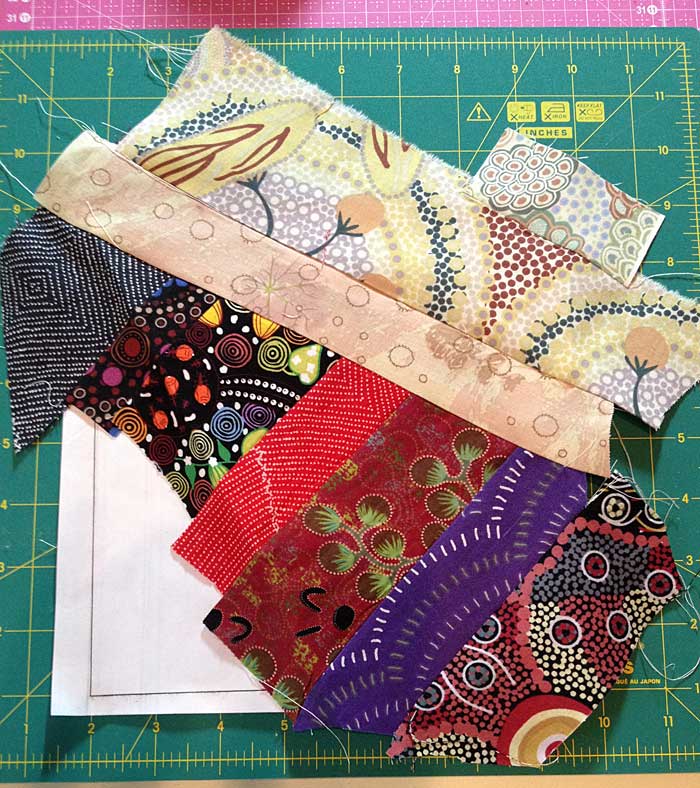
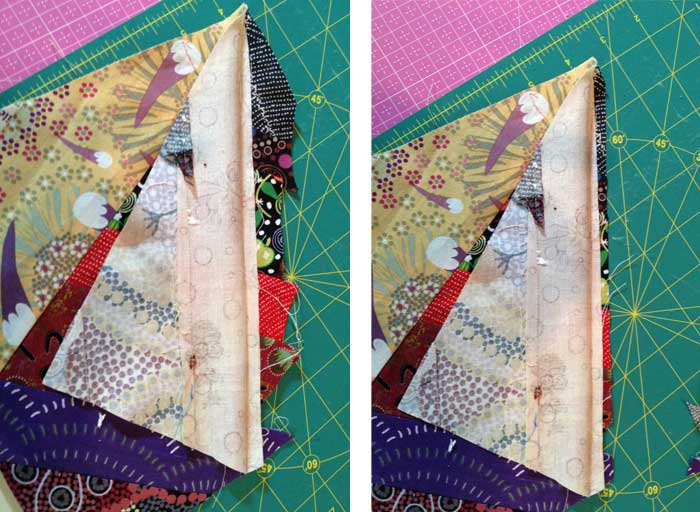
As for paper piecing, at the time I had no clue how to do it, only that needed I print out the template in Bonnie’s book. I chose her Virginia Strings block* for this quilt. Since I knew I wanted something smaller than a full size quilt, I printed the quarter block templates to create six blocks in total. To help me while sewing, I folded my template along the lines (pictured above). Others choose to trace over the lines with a Sharpie marker to make them bolder, if they don’t show through to the back of the paper.
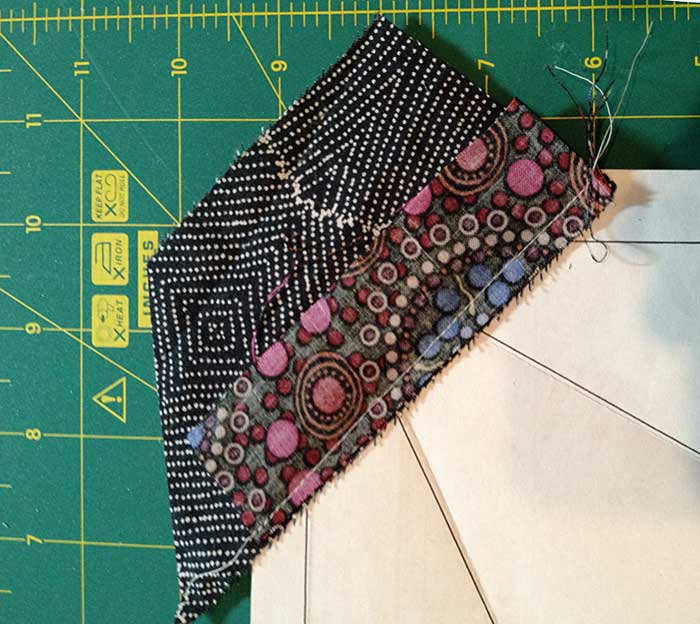
I began with the smaller part of the kite shape, although I think that Bonnie advises that you begin at the wide end. You begin by sewing the right sides of fabric strips together covering the pattern shape. Then flip the last strip added back down, so that the right side of the fabric is facing up. Pictured above, you can see the wrong side of the fabric still facing up, not flipped down.
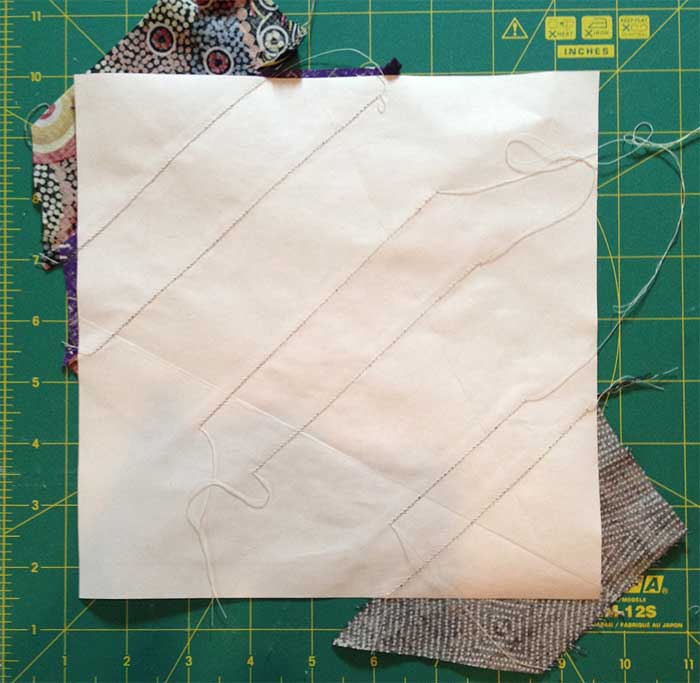
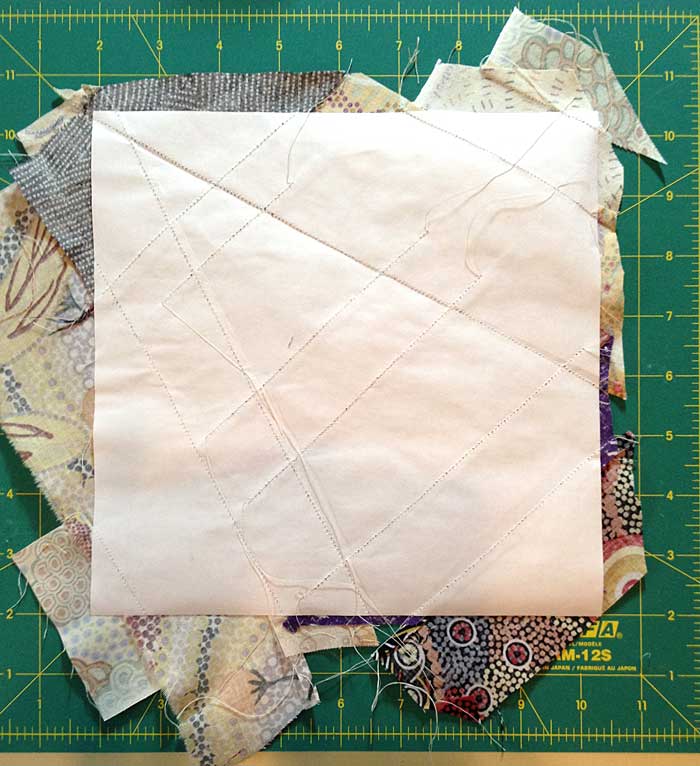
Below, reverse of the paper template, showing the stitch lines of the fabric strips.
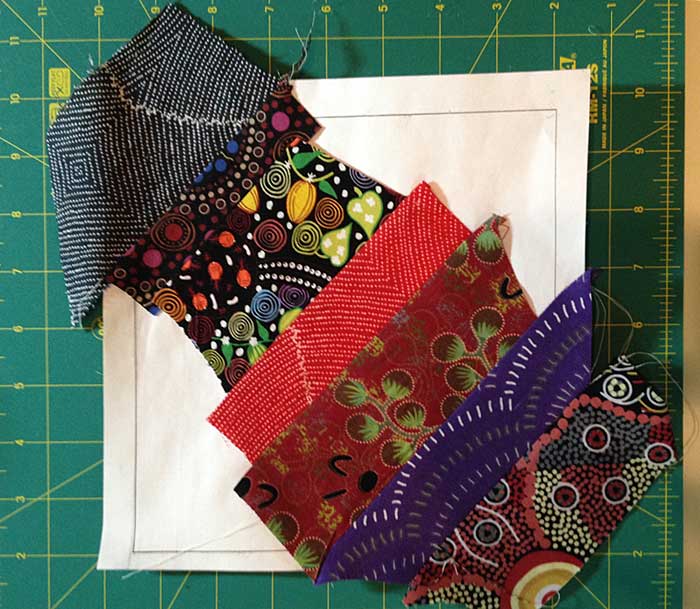
Below, I am beginning to strip piece the sides of the quarter block, using lighter fabrics so that the final block design will show.
 Below, The reverse of a completed string pieced quarter block.
My timing was such that after I pieced a couple of blocks, I brought them, my book, tools and scraps (along with a couple other projects) to my chapter’s annual quilt retreat in order to get “in-person” training. Lucky for me, a fellow Burke member at the retreat had already used this block and offered some advice, which I want to share with you:
- Make your stitches short in order to make pulling the paper off easier. This step makes a big difference! Bonnie also offers this advice in her books and on her blog. Note that her Quiltville website has a number of free patterns available.
- Create your block somewhat larger than you want it, and cut it down with a square template. I was creating 8" squares and used my 8½ in. square ruler, my rotating cutting mat and jumbo Havel’s Rotary cutter to do the trimming.
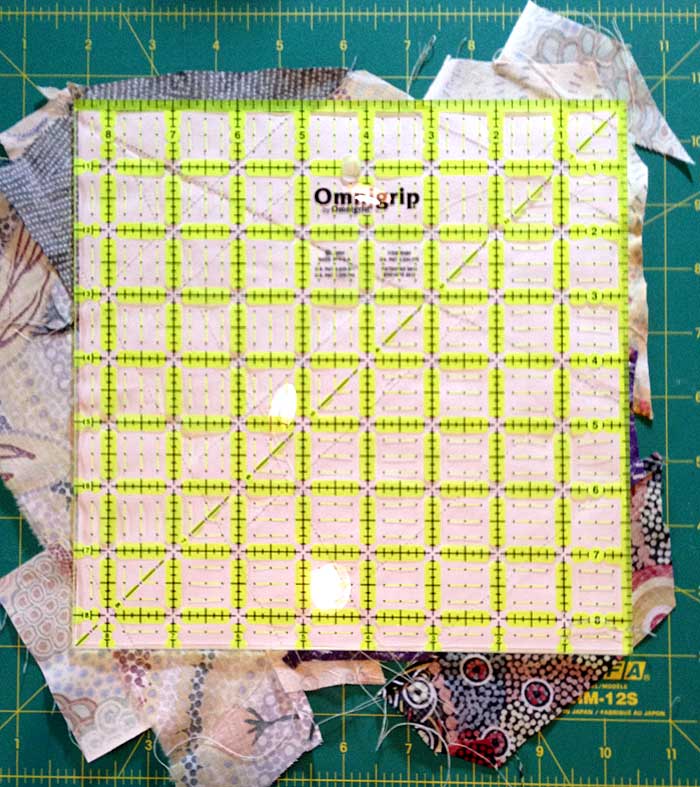
Above, using my 8½ in. square ruler to trim the block from the back.
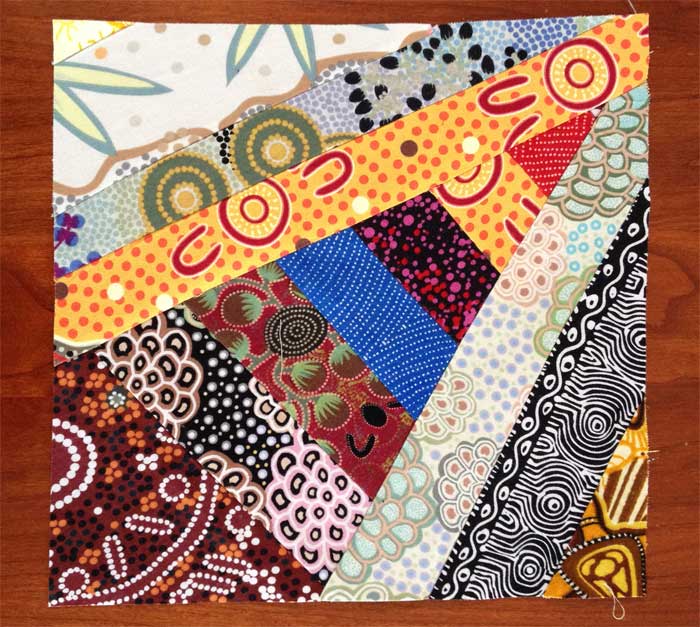
Pictured above, one of the trimmed blocks. I loved the look and was getting a hang of the technique, so I made a few more. After all, with my stash, it wasn’t like I was going to run out of fabric!
Trim the ragged fabric edges, as pictured above, for neatness and ease when stitching your quarter units into blocks.
Below, four quarter blocks ready to be seamed. Simply rotate your blocks as needed so that the widest point will be in the center to get the four pointed star look.
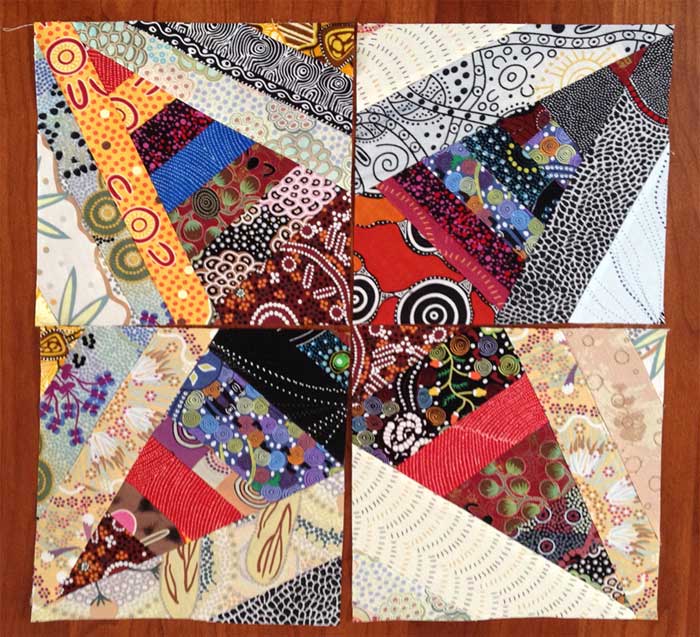
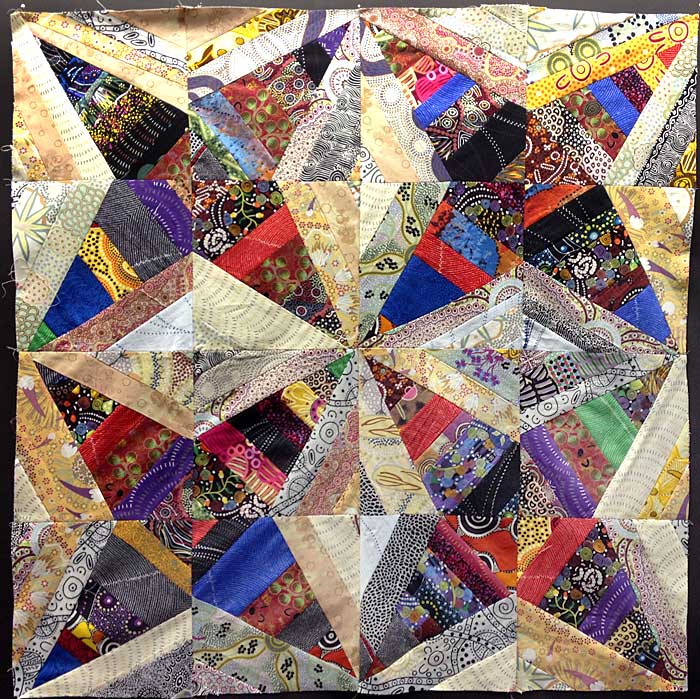
Below, four completed units sewn together created my quilt top. Once I reached this stage, I let it sit for a bit, unsure whether I would create additional blocks, or simply finish it up with a border and stitching... which is what I did end up deciding to do, as per the image at the top of this post. See my post Quilting with a Walking Foot for additional details on completed this quilt.
I’d love to see your results of taking a favorite “traditional” quilt pattern and sewing it with non-traditional fabrics! Send us your photographs, whether a completed quilt, top, or pieced blocks, and we will share them on our Facebook page.
** This block is traditionally known as the Rocky Road to Kansas, but in her book, Bonnie Hunter notes that because she pieced her quilt while in Northern Virginia teaching, and backed it with a bargain purchase of University of Virginia fabric, she was inspired to name the finished quilt Virginia Bound.





Leave a comment